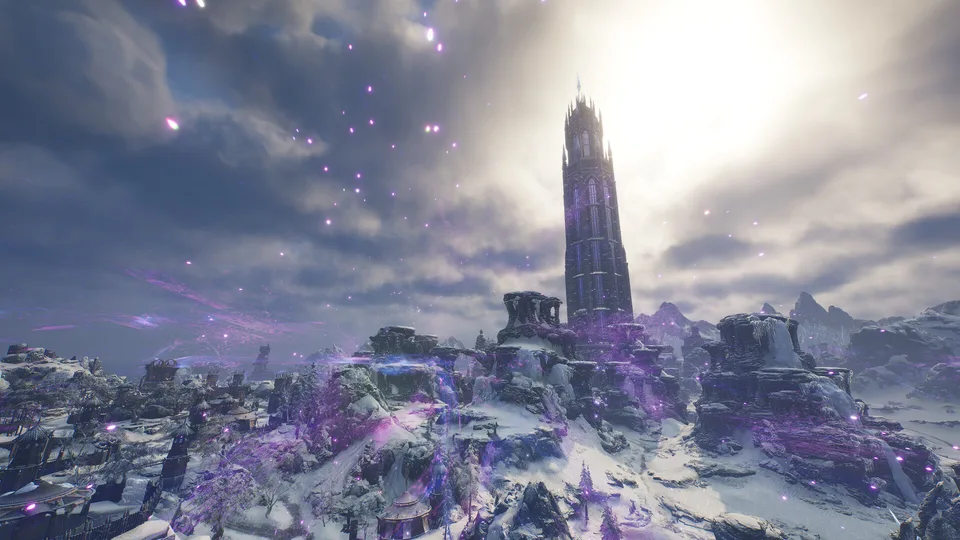
Throne and Liberty Altar of Calanthia Raid Strategy Guide
Master the Throne and Liberty Altar of Calanthia raid with our expert guide. Learn boss mechanics, team tactics, and how to conquer this 12-player challenge.
Published: Throne and Liberty Wiki Editorial Team
Video Guide
What's the SECRET to Beating CALANTHIA in THRONE and LIBERTY?Table of Contents
The Altar of Calanthia stands as one of the most demanding tests of coordination and skill in Throne and Liberty. Mastering this 12-player raid is essential for any adventurer looking to push their limits and secure top-tier rewards in the current endgame meta.
Whether you are a seasoned veteran or a newcomer stepping into the fray, understanding the complex mechanics of the Throne and Liberty Altar of Calanthia is your first step toward victory. This guide breaks down the fight phases, critical team responsibilities, and the strategic nuances required to survive the witch’s wrath.
Understanding the Raid Scope and Preparation
Before diving into the boss arena, it is vital to acknowledge that the Throne and Liberty Altar of Calanthia raid requires a high degree of synergy. Unlike standard dungeon content, this 12-player encounter forces players to manage simultaneous threats, from environmental hazards to high-damage boss abilities.
Preparation is key. Ensure your gear score meets the recommended threshold and that your skill build is optimized for both survivability and burst damage. Based on official game updates, developers have designed this encounter to test both individual reflexes and collective team discipline.
Essential Raid Checklist
Requirement
Priority
Action Item
Gear Score
Critical
Ensure all equipment is upgraded to current seasonal standards.
Communication
High
Use voice channels to coordinate tether breaks and circle mechanics.
Role Clarity
Medium
Define which party handles specific orb spawns and add management.
Consumables
Medium
Stock up on HP potions and damage-buffing elixirs.
Phase-by-Phase Mechanics: The Witch of Calanthia
The fight against the final boss is a multi-phase endurance test. Players must react to rapidly changing patterns, such as the Chaos Rift and various tether mechanics. Community reports suggest that failing to recognize these telegraphs leads to immediate wipes.
The Chaos Rift and Orb Management
When the boss reaches 90% health, the entire raid is pulled into the Chaos Rift. In this green-hued arena, players accumulate a stacking damage-over-time debuff.
Orb Priority: Four chaotic magic orbs will tether to players, lifting them into the air. If not destroyed quickly, the captured players will perish.
The Circle Mechanic: Once free, white circular zones appear. All six members of a party must occupy their assigned circle to generate a protective shield against the boss’s massive explosion.
Warning
Failing to stand in the designated circle results in massive damage and forces you to manually exit the Chaos Rift while the stacking debuff continues to drain your health.
Tactical Breakdown: Dealing with Boss Abilities
Combat in the Throne and Liberty Altar of Calanthia is not just about raw DPS; it is about "healer checks" and movement discipline. Players often struggle with the "Choking Grasp" and "Shadow Beyblade" attacks.
Key Combat Mechanics Table
Mechanic Name
Type
Counter-Strategy
Choking Grasp
Healer Check
Healers must burst-heal the targeted player immediately.
Dark Links
Crowd Control
Linked players must spread out to break the tether.
Shadow Laser
Tank Hazard
The tank must dodge-roll while avoiding secondary AOE rings.
Chain Lightning
Positioning
Do not stand near the marked player to prevent the bounce effect.
The Role of the Tank
Tanks face the most pressure during the "Shadow Beyblade" phase. While the boss targets the player with the highest threat, the tank must simultaneously avoid being knocked out of position by charging zombies. According to player experience, the most successful tanks kite the boss into open space, ensuring the rest of the party has room to maneuver without getting caught in the laser crossfire.
Advanced Strategies: Overcoming the Statues of Oblivion
In addition to the main boss, sections of the raid involve interacting with environmental objects like the Statues of Oblivion. There is often debate within the community regarding whether these require specific timing or perfect blocks.
Troubleshooting Common Raid Issues
Caging Issues: Some players report being stuck in a "caged" state where they cannot be healed. If this happens, you may need to reset the encounter or port out.
Color Matching: When dealing with the statues, if your party lacks the DPS to skip the phase, focus on perfect-blocking to shift the statue colors to match the required state.
Phase Issue
Recommended Solution
Boss Enrage
Increase group burst-damage output or refine rotations.
Healing Deficit
Assign a dedicated healer to watch for the "eye" icon targets.
Fear Chains
Respond instantly to fear circles to prevent a chain reaction.
FAQ: Frequently Asked Questions
Q: Is the Altar of Calanthia raid available for solo players?
A: No, this is a 12-player raid designed for organized groups. You will need a full party to tackle the mechanics of the Throne and Liberty Altar of Calanthia effectively.
Q: What is the most common reason for failing the raid?
A: Based on community reports, the most frequent cause of failure is failing the "Circle Mechanic" during the Chaos Rift phase, which leads to a team-wide wipe.
Q: Do I need specific equipment to survive the boss's explosion?
A: You don't necessarily need unique gear, but you must successfully trigger the shield mechanic by filling the circles. Coordination is more important than raw gear stats here.
Q: How do I handle the tethered players during the 35% health phase?
A: Each party must focus their specific orb and destroy it immediately. Communication is vital to ensure no player is left suspended in the air.